Design your own birthday card using your photo
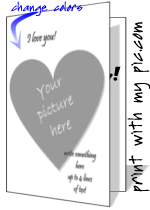
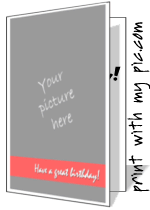
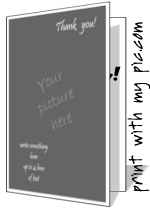
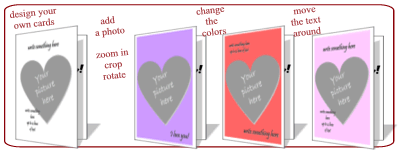
There are new templates available where you can add your photo then customize the cards with different fonts, move text around and change the color schemes. These new templates will bring you a little more flexibility in designing the perfect birthday card or thank you card online.
Using the free card makers, go to the simple shapes preview page. These have different photo cut out options such as heart photo frames, full photo frames, ovals, stars and more. There are 2 pages of templates but the first page contains all of the new templates.
These printable card templates run online, so there’s nothing to install, register for or download. Just click on a preview and you’re ready to go.
I first recommend toggling through the font options. There is a button at the bottom that says “change font”. There are 7 different fonts to choose from with cute fonts, elegant font options, cool, and fun fonts as well. You can always change the font again later but it may affect your design, as different fonts are different widths and heights.
The templates above have a title line, which is a slightly larger font and is good for writing what the card is about. You could write “thank you”, “Happy birthday”, “Congratulations!” , “Missing you …” or anything like that. When you roll over this title text, you’ll see a little “move me” button appear. You can grab the text and move it to where ever you’d like on the card. Move the text by clicking on the “move me” button and dragging it with your mouse.
There may also be a message text box that allows up to 4 lines of text. It’s slightly smaller than the title text and is good for anything else you want to add to the card cover. You can use just one line, or a few lines. Again, if you roll over the top of text with your mouse, you’ll see the “move me” button and you can move this around so it looks great over the picture.
The templates also allow you to change the colors of the backgrounds or text tags. Again, at the bottom of the maker you’ll find a spot that says “change color”. If you click on that it will toggle through several different color schemes to choose from. Plain white backgrounds are the default and those will look great as well. You can always go back to white, so try changing the colors and see what you think.
Once you’ve designed your cover, edit the message for the inside of the card and you’re ready to print. Hit the “preview” button and you’ll see the “print” button. If you’d like to change anything before you hit print, go right ahead and make your changes. Hit the print button when your satisfied and your custom designed card will come right out the printer.
Happy printing,
Mark


