Make your own haunted house scene setter, haunted house facade, entrance and doorway
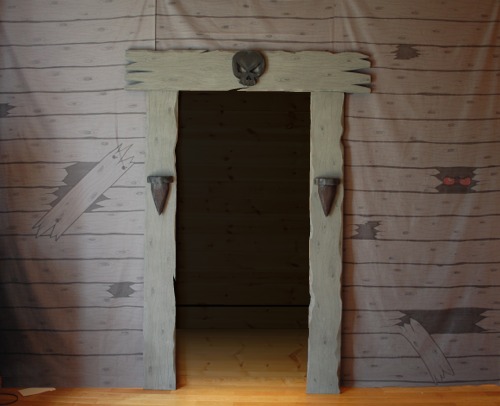
It’s very easy to make your own haunted house scene setter or scary photo backdrop. Add it to your garage or over an entrance to a room in your house. It also makes a great picture spot for your Halloween party guests. This haunted house entrance was cheap and easy to make, taking just a few hours:
This also makes a great place for Halloween party guests to take pictures. As a haunted house backdrop for photos, this type is great because there is no glare that you usually get with those cheap plastic Halloween scene setters you can find at most party stores.
What you need to make a cool haunted house entrance: (prices are estimates)
- – 1 sheet of insulation foam (pink or blue) $16
- – 1-2 black markers $2
- – gray water-based house paint (small can) $8-10
- – gray fabric (6 yards for what you see here) $15
Tools you need to make a haunted house scene setter:
- measuring tape
- box cutter
- medium to large paint brush
- sand paper
You can make this as long as you need. The current plan will be about 10ft or 3m wide. If you want it bigger, you’ll need 2.5 yards of gray fabric for each additional 3 feet.
How to make a Haunted house backdrop:
First you need to measure out your fabric so that it takes up the full space you have. If your room is 8ft, then measure out two, 8ft strips of fabric. From there we can start to make the gray fabric look like old weathered wood.
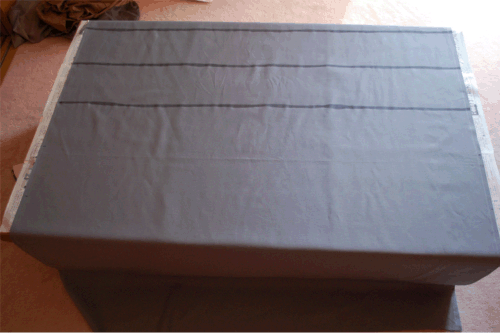
Down the side of the fabric, mark the fabric every 6 inches (15 cm). You can make larger planks if you want. It’s good to measure them out, so that we can line the sheets up afterward and the boards will look continuous, sheet to sheet. Then using your black marker, draw a thick black line across the sheet as the space between boards.
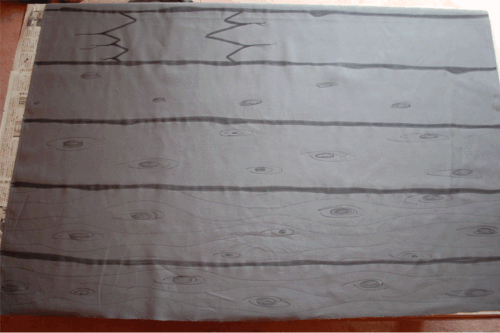
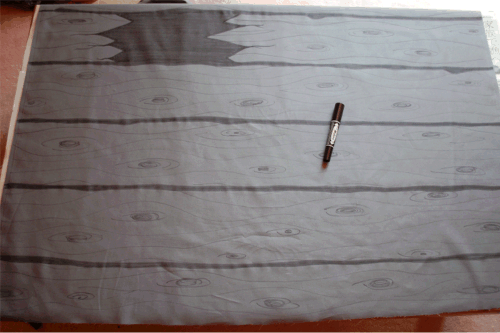
Don’t worry if your lines aren’t straight. They actually shouldn’t be. Old wood warps and so you should actually make them a little wonky. Then, once you’ve made you lines, you just need to make it look like wood. Still using the black marker, I draw some knots first. Then I draw some circles around the knots. Finally I go across the sheet lightly to make the wood grain. You want to go around your knots and move the lines around a bit, not making them too straight. You can also make places where the boards have broken. See picture below:
If you want to draw in some spooky eyes peeking out go ahead. This is a great addition of you are making a haunted house entrance for a kids party.
Each sheet should take you about an hour, more if you are going to add a lot of broken boards and other artwork. You’ll also need to make a small piece to go above the doorway, but you should make your doorway first, so you’ll know how much fabric you’ll need.
How to make a spooky haunted house entrance: This can stand alone or cover an existing doorway
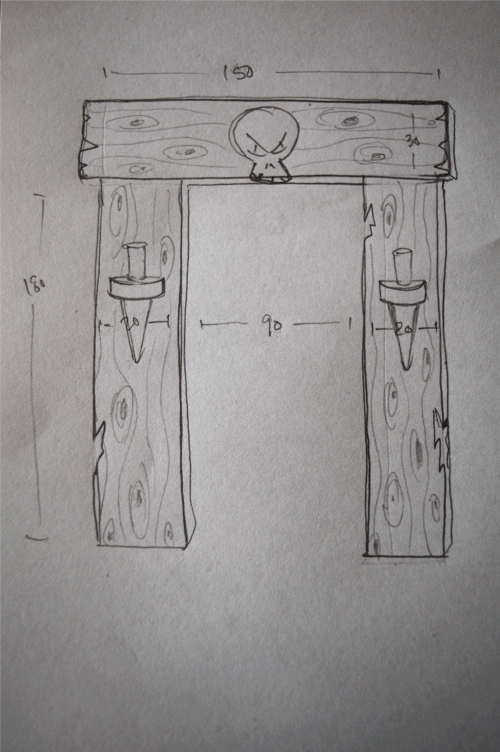
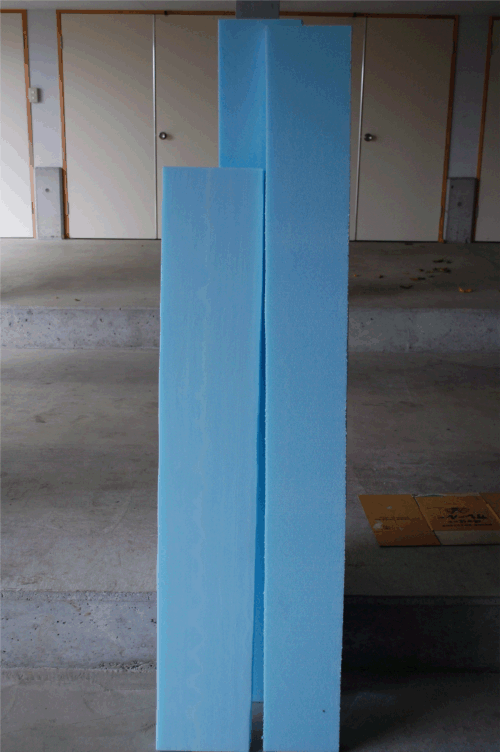
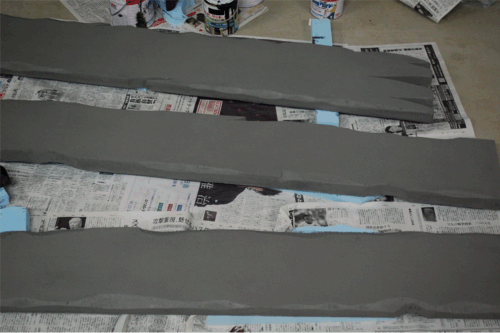
For this it’s best to have a plan. You need to know how tall and wide you want the doorway to be. You can see my sketch and dimensions for the door, but you’ll be using your own. As a guide we’ll use mine. The pillars were 6’x8 inches and the top piece was 7’x10 inches, so it would stick out on both sides: I cut up the sheet into those three boards. See the template and boards below:
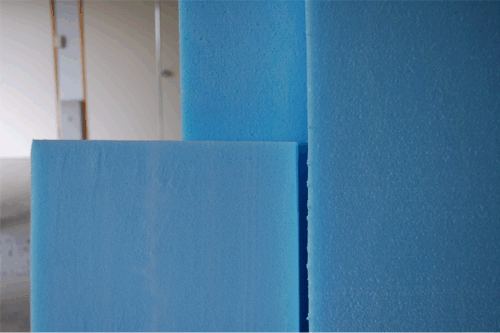
After you cut the boards up, you’ll need to sand them down. You can see that in the third picture. The boards are very porous and to make them look like boards, you need to sand them smooth. This also makes them much easier to paint.
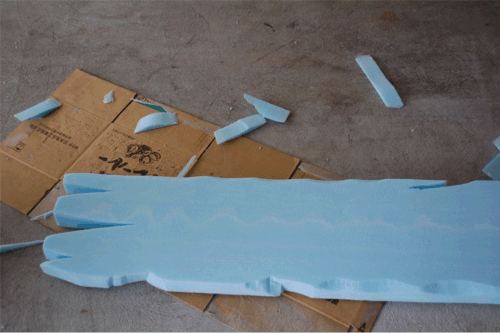
Once you’ve got your boards cut and sanded, you’ll need to make them look like old boards. I just took my box knife and started taking pieces off. You can cut up the ends of the pillars, but remember that you want this to stand in the end. Shave of the edges with the knife at an angle and try to be very random about this. Here is a picture of the top board after I cut it up:
Then paint your pieces with gray water-based paint. Do not use spray paint, because the aerosol will eat the styrofoam and you’ll be starting over.
Once the paint is dry, make wood grain just like you did for the backdrop. This will keep the whole thing looking the same and having the same feel.
You’re done for the most part. You’ll need to stand your doorway up and see how tall it is. If you need a small piece of fabric to go above the door, then measure that out and decorate it just like you did the others.
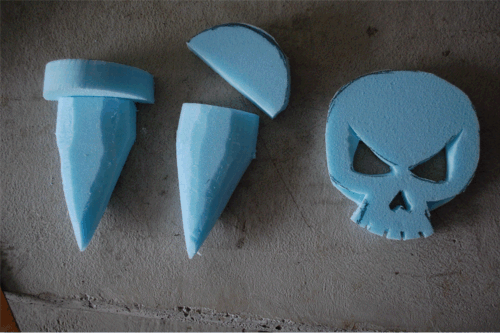
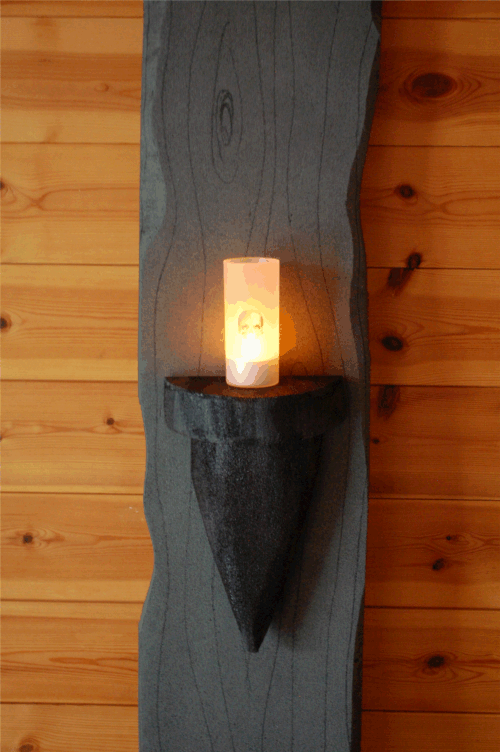
You should have some extra foam left over. You can use that to make some accessories for the door, or make a sign. I made to small shelves on each side where I’m going to place some LED candles and I added a skull on the top piece.
This can be set up outside you garage and the trick-or-treaters who dare to come in can. You can set this up inside as well. Tack or pin the fabric up and secure it at the bottom with tacks or tape. Then you can use duct tape to keep the door pieces together and also use duct tape to fasten it to the backdrop. There are really many ways to put this together, so use whatever method will work best for your location.
For more spookiness, try adding a spooky Halloween tree or rot iron fence to set up just in front of this old haunted shack scene setter.
If you have any questions or need any help, please post a comment below.

September 14th, 2013 at 3:21 am
In your picture, it looks like you used some sort of orangish/brown paint on the sheet and styrofoam as well. I like this look. Can you tell me what you used and how you got it to look this way?
September 18th, 2013 at 8:36 am
Angela – I just used both black and brown water-based house paint. I used a foam brush to apply the paint ligthly to the fabric, just brushing it on here and there. For the styrofoam, I used a regular paint brush and did the same. (A foam brush won’t work on the styrofoam.)
September 18th, 2013 at 5:47 pm
You must be an artist, because yours turned out a lot nicer than mine are! I think I may try to recruit a friend who is good with paint to make mine look better. Great work, this is an amazing setup!
September 19th, 2013 at 12:37 pm
Thanks! I did practice painting a bit with some extra fabric, and I found that it’s good to hold the fabric at the side and brush in the other direction. That keeps the brush from snagging. Also, it’s better to brush over the fabric lightly a few times, rather than try to do it all at once. It’s OK to have some splotches as well.
When I shaded the sheets, I thought I had ruined them. But, I hung them out to dry and in the end, I was very glad I had decided to shade them. Maybe you’ll feel the same once yours have dried out :)
September 14th, 2014 at 2:37 am
Beautiful work!!!!!! I’m doing a garage haunt next year, Thank You for posting your work. Happy haunting from Erie, Pennsylvania.